# Invasion

<figure><img src="/files/kFsqDSFNa3XnlNitRwNU" alt="Cover image"><figcaption></figcaption></figure>

Invasion is an asymmetrical, 8v8 objective mode featuring two rounds, each divided into three distinct phases. Drawing inspiration from *Halo: Reach*, the mode includes various objectives such as Capture the Zone, Assault, Core Delivery, and Deliver the Payload.

## Match Structure and Spawning

Invasion matches progress through three distinct phases, with each completed phase earning the team a point. A team can earn up to three points per round.

### Phase Details

The requirements and available resources change as the match progresses through its phases:

| Feature           | Phase 1    | Phase 2        | Phase 3                        |
| ----------------- | ---------- | -------------- | ------------------------------ |
| Spawn Orders      | 11, 12, 13 | 21, 22, 23     | 31, 32, 33                     |
| Objective Order   | 1          | 2              | 3                              |
| Loadouts Per Team | 2          | 3              | 5                              |
| Vehicle Tiers     | Tier 1     | Tier 1, Tier 2 | Tier 1, Tier 2, Tier 3, Tier 4 |
| Power Weapons     | None       | Yes            | Yes                            |

### Loadouts

The mode pits UNSC against Banished-affected Spartans. Players select from various loadouts that change depending on the current phase.

#### UNSC Loadouts

* **Phase 1**
  * Scout: MA5K Avenger, Frag Grenades, Threat Seeker
  * Sentry: MK50 Sidekick, Frag Grenades, Drop Wall
* **Phase 2**
  * Warrior: MA40 Assault Rifle, MK50 Sidekick, Frag Grenades, Drop Wall
  * Operator: CQS48 Bulldog, Frag Grenades, Quantum Translocator
  * Skirmisher: VK78 Commando, MA5K Avenger, Frag Grenades, Thruster
* **Phase 3**
  * Headhunter: BR75, VK78 Commando, Frag Grenades, Shroud Screen
  * Healer: CQS48 Bulldog, MK50 Sidekick, Frag Grenades, Repair Field
  * Marksman: Bandit Evo, MA40 Assault Rifle, Frag Grenades, Grappleshot
  * Sentinel: VK78 Commando, MA5K Avenger, Frag Grenades, Thruster
  * Heavy: MLRS-2 Hydra, MA40 Assault Rifle, Frag Grenades, Overshield

#### Banished Loadouts

* **Phase 1**
  * Sentry: Mangler, Spike Grenades, Thruster
  * Scout: Needler, Plasma Grenades, Active Camo
* **Phase 2**
  * Marksman: Vestige Carbine, Plasma Pistol, Spike Grenades, Repulsor
  * Hunter: Heatwave, Spike Grenades, Drop Wall
  * Sapper: Ravager, Needler, Plasma Grenades, Thruster
* **Phase 3**
  * Headhunter: Bandit Evo, Pulse Carbine, Spike Grenade, Grappleshot
  * Warrior: CQS48 Bulldog, Mangler, Spike Grenade, Threat Sensor
  * Sentinel: Sentinel Beam, Vestige Carbine, Spike Grenade, Repulsor
  * Medic: Pulse Carbine, MA40 Assault Rifle, Spike Grenade, Repair Field
  * Dark Assassin: Duelist Energy Sword, Disruptor, Plasma Grenades, Active Camo

### Buddy Spawning

A unique mechanic in Invasion is Buddy Spawning, which allows players to spawn directly on a randomly assigned teammate. This assignment is reciprocal and remains the same for the full match. If a buddy leaves the match, the ability to Buddy Spawn is lost.

{% hint style="info" %}
Buddy Spawning is subject to several conditions: the buddy must be alive (for at least five seconds), possess full health and shields, be clear of active engagements, and have an empty seat if they are in a vehicle.
{% endhint %}

When spawning on a buddy, the player will face the same direction as that teammate. Alternatively, players can choose to spawn at the Left, Middle, or Right spawn zones.

## Configuration and Setup

Map creators must configure specific gameplay objects and labels to ensure the Invasion modules function correctly.

### Gameplay Module Labels

Each module requires specific labels to identify its items and objectives.

#### Assault Module

* **All Assault Items:** Bravo
* **Generic Bomb:** Assault Bomb
* **Generic Zone Sites:** Assault Site
* **Site Plate:** Assault Plate
* **Bomb Spawn:** Assault Bomb Spawn

<figure><img src="/files/trW8yragunywaaHX685e" alt="Assault Setup Brain"><figcaption><p>This node setup handles the logic for the Assault module.</p></figcaption></figure>

#### Zone Capture Module

* **All Zone Capture Items:** Alpha
* **Generic Hills:** King of the Hill Zone

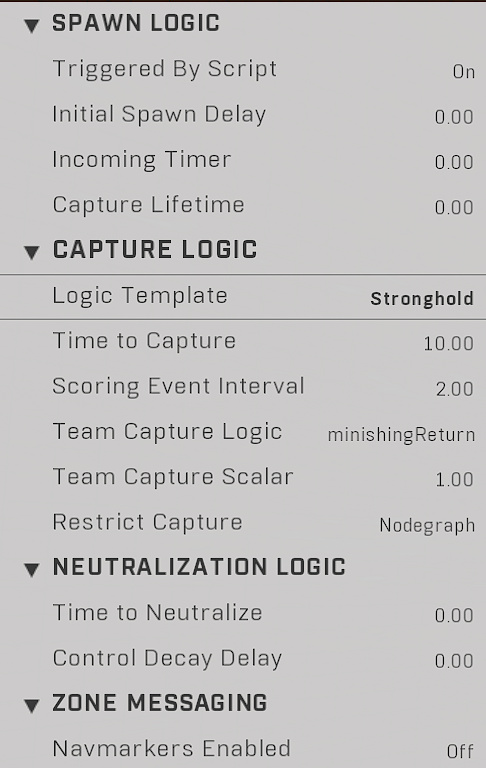
<figure><img src="/files/e6tlgP1LZbcvlYGwxc5c" alt="Zone Capture Setup Brain"><figcaption><p>The logic for the Zone Capture module manages capture site properties.</p></figcaption></figure>

#### Payload Module

* **All Payload Mode Items:** Delta
* **Payload Zone:** Strongholds Zone
* **Payload Crate:** Yankee
* **Payload Cart:** Xray
* **Payload Totem:** Tango

<figure><img src="/files/0ouRIndegkIX0QBsIWFS" alt="Payload Setup Brain"><figcaption><p>This node setup manages the parameters for the Payload module.</p></figcaption></figure>

#### Core Delivery Module

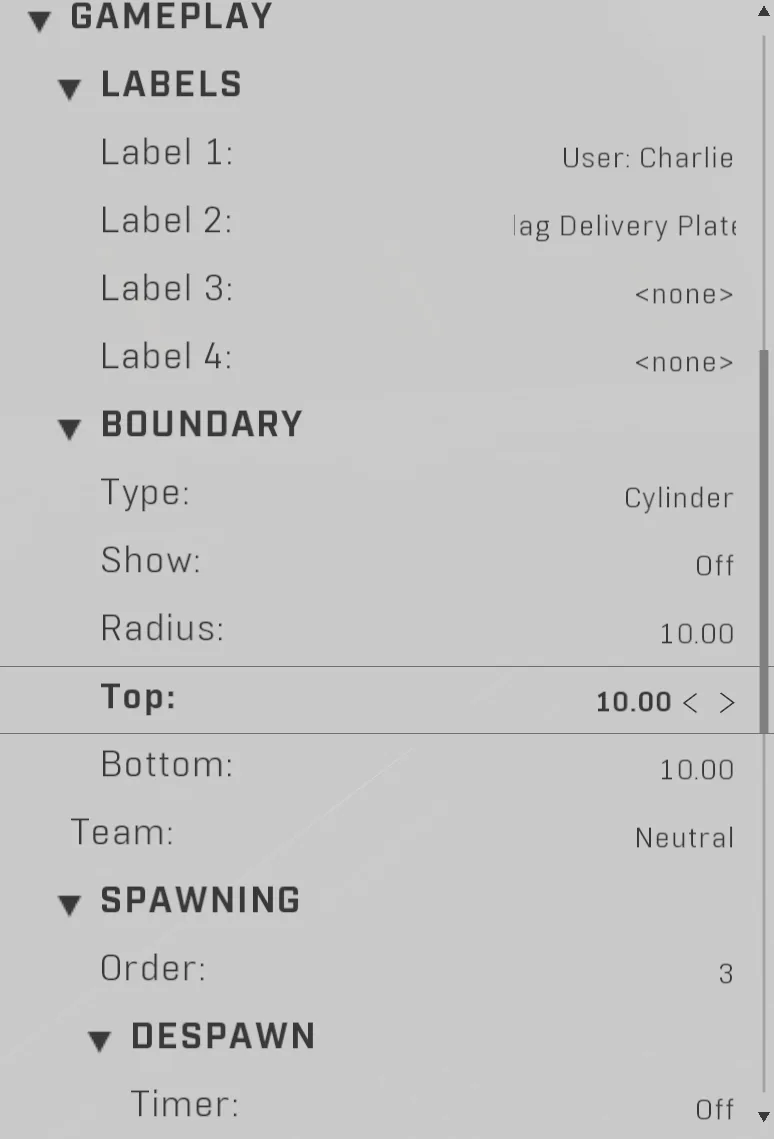
* **All Core Delivery Items:** Charlie
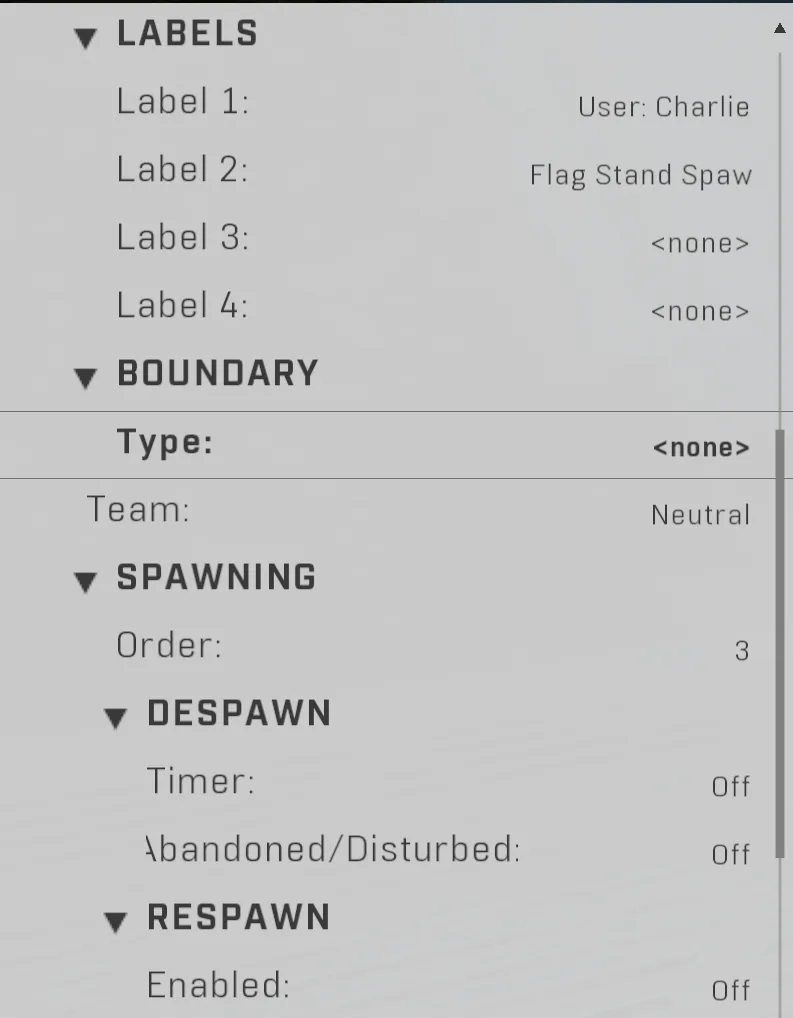
* **Generic Flag:** Flag Stand Spawner
* **Capture Plate:** Flag Delivery Plate

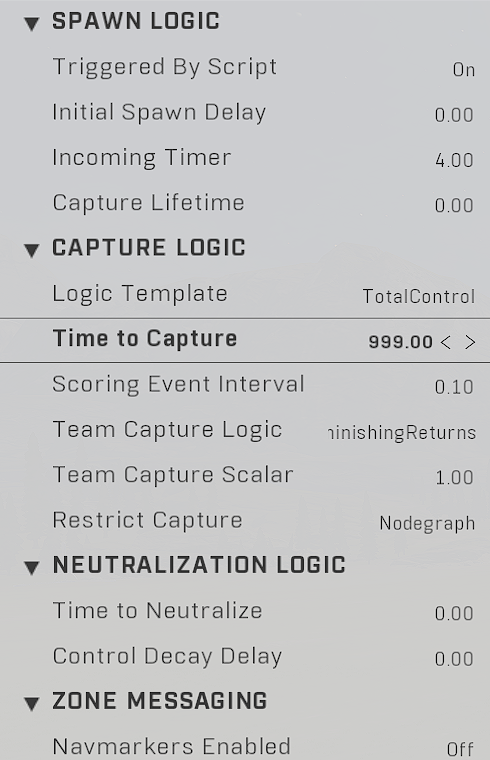
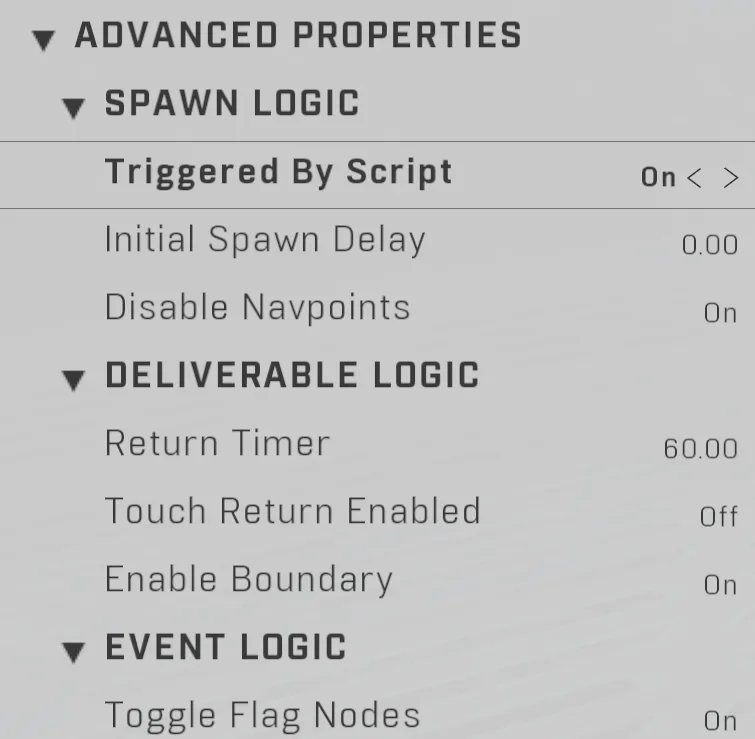
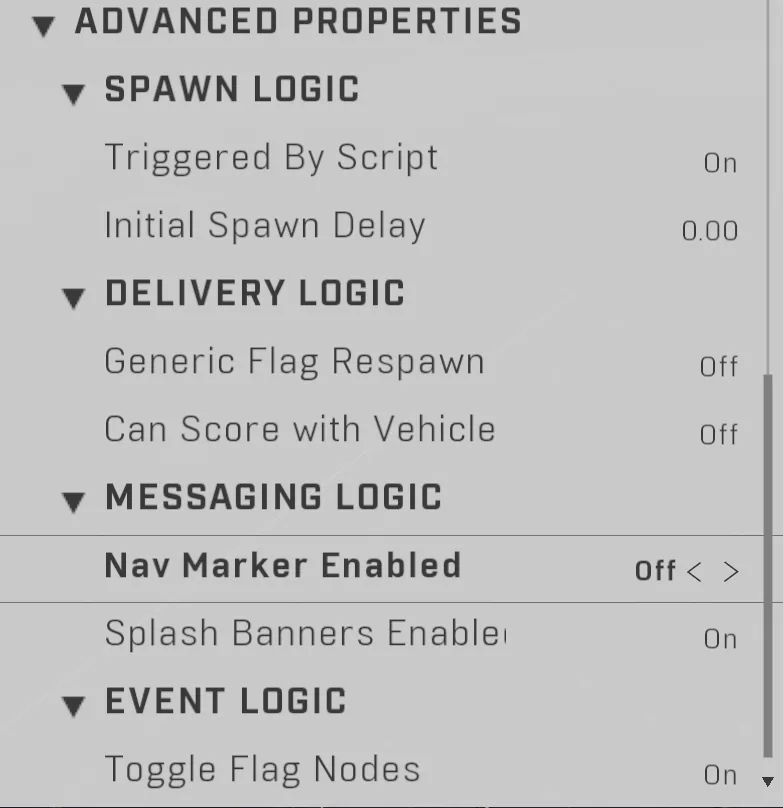
To ensure the module functions correctly, the object's spawn order must match the phase in which the Core Delivery module is being used.

<figure><img src="/files/vCKTHCTArtT0ZQtAbGU1" alt="Core Delivery Properties"><figcaption><p>The object properties for the core include specific configuration settings.</p></figcaption></figure>

<figure><img src="/files/xoQq3XZ2LqnwbO4YkgkS" alt="Core Delivery Properties"><figcaption><p>These properties define the parameters for the core delivery module.</p></figcaption></figure>

<figure><img src="/files/ndMGkto6ji2O0xNxWKTy" alt="Core Delivery Flag"><figcaption><p>The flag setup uses specific labels to identify the flag stand spawner.</p></figcaption></figure>

<figure><img src="/files/0hgW1pcZeZdy7FGA8Boq" alt="Core Delivery Capture Plate"><figcaption><p>The capture plate properties are used to manage the delivery of the core.</p></figcaption></figure>

### Vehicle Configuration

Vehicles should be placed using a vehicle object rather than a classic or vehicle spawner. They do not require Invasion-specific labels and do not use waypoints. To set up vehicles, assign the appropriate Spawn Order (1, 2, or 3) for the intended phase and set the Respawn property to "Off."

Vehicle tiers and their respective respawn timers are as follows:

* **Tier 1 (5s respawn):** Mongoose, Razorback
* **Tier 2 (10s respawn):** Brute Chopper, Ghost, Gungoose, Rockethog, Warthog
* **Tier 3 (30s respawn):** Banshee, Boss Chopper, Wasp, Falcon
* **Tier 4 (90s respawn):** Scorpion, Wraith

### Scavenging and Equipment

Weapons are available throughout all phases and can be found on pads, lockers, drop pods, and chests. Weapon spawns are "Red Racked," meaning a single weapon will not respawn until the previously spawned weapon has been despawned. The respawn time for these weapons is 10 seconds. Normal weapon spawns in lockers and trunks do not use waypoints.

Grenades and equipment are tied to player loadouts rather than map spawns. However, these items can be collected from players who have dropped them upon death.

### On Map Events

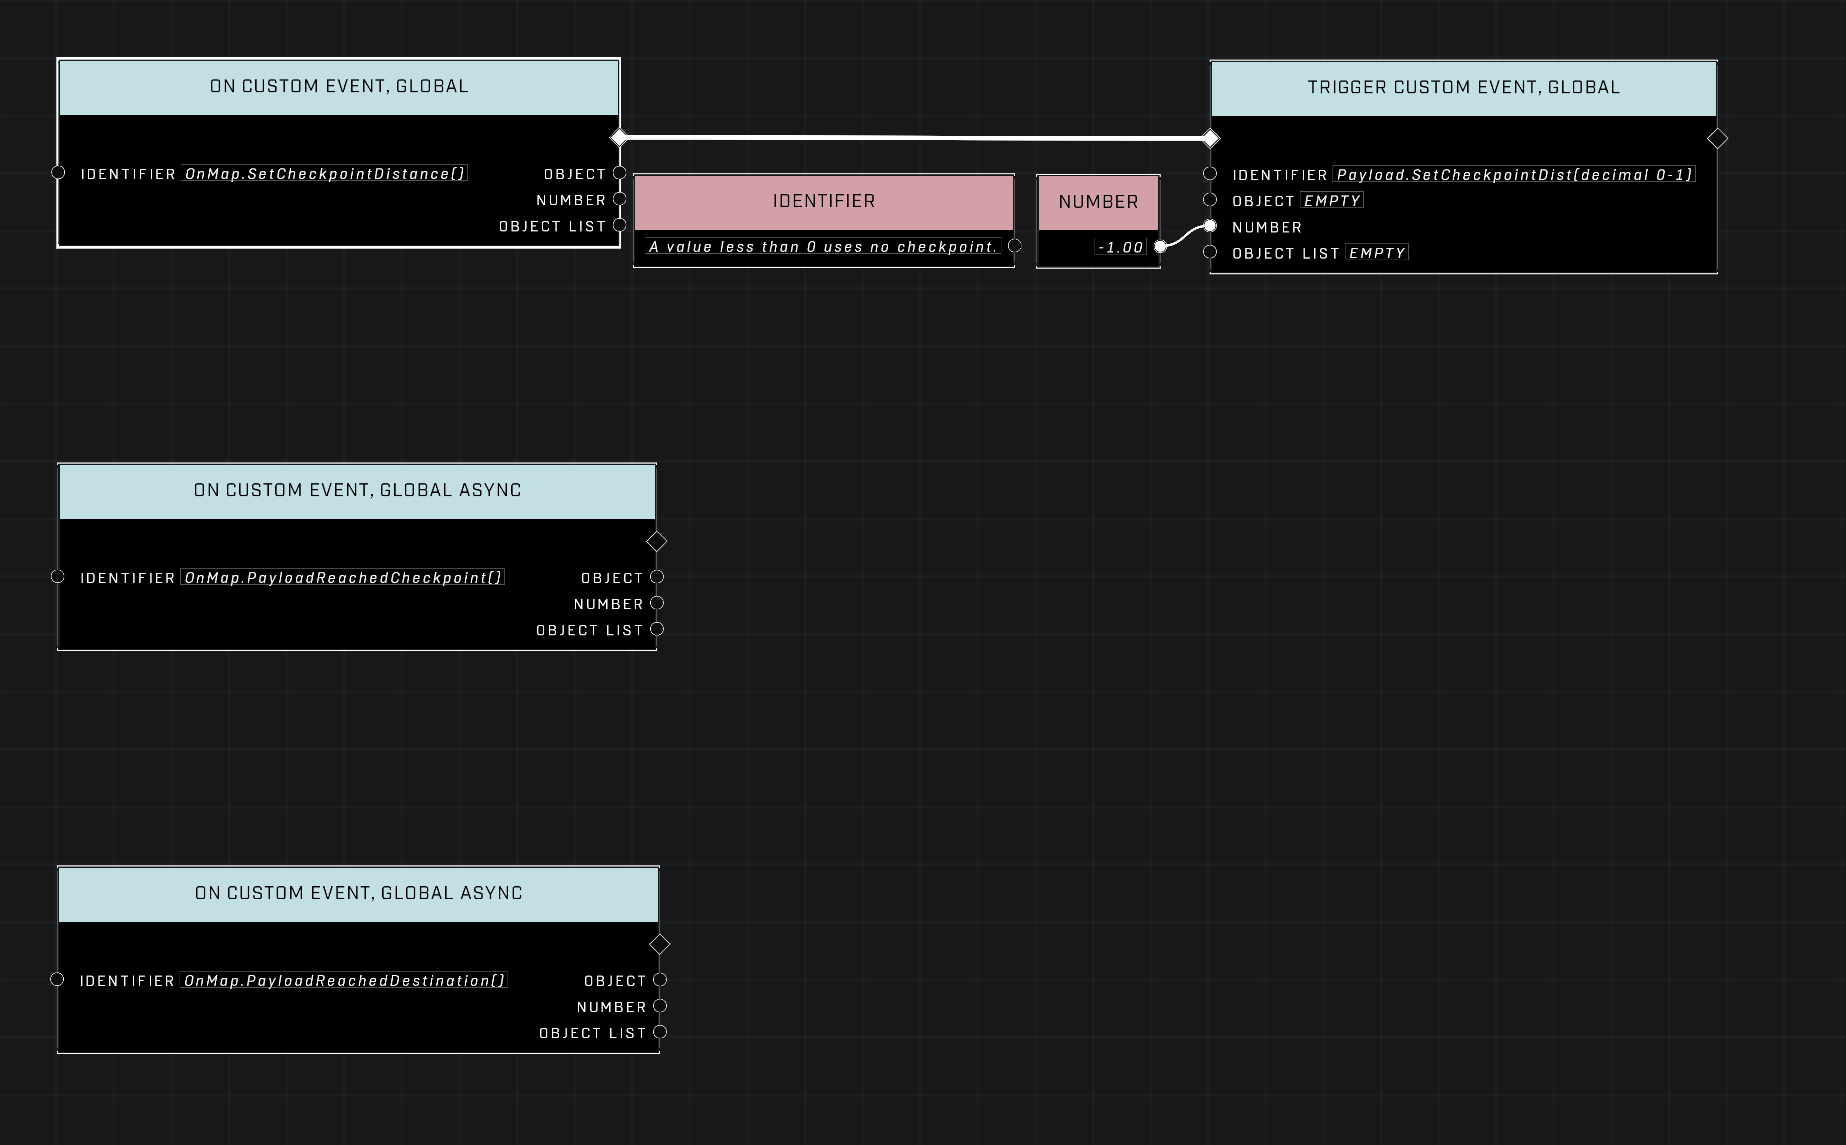
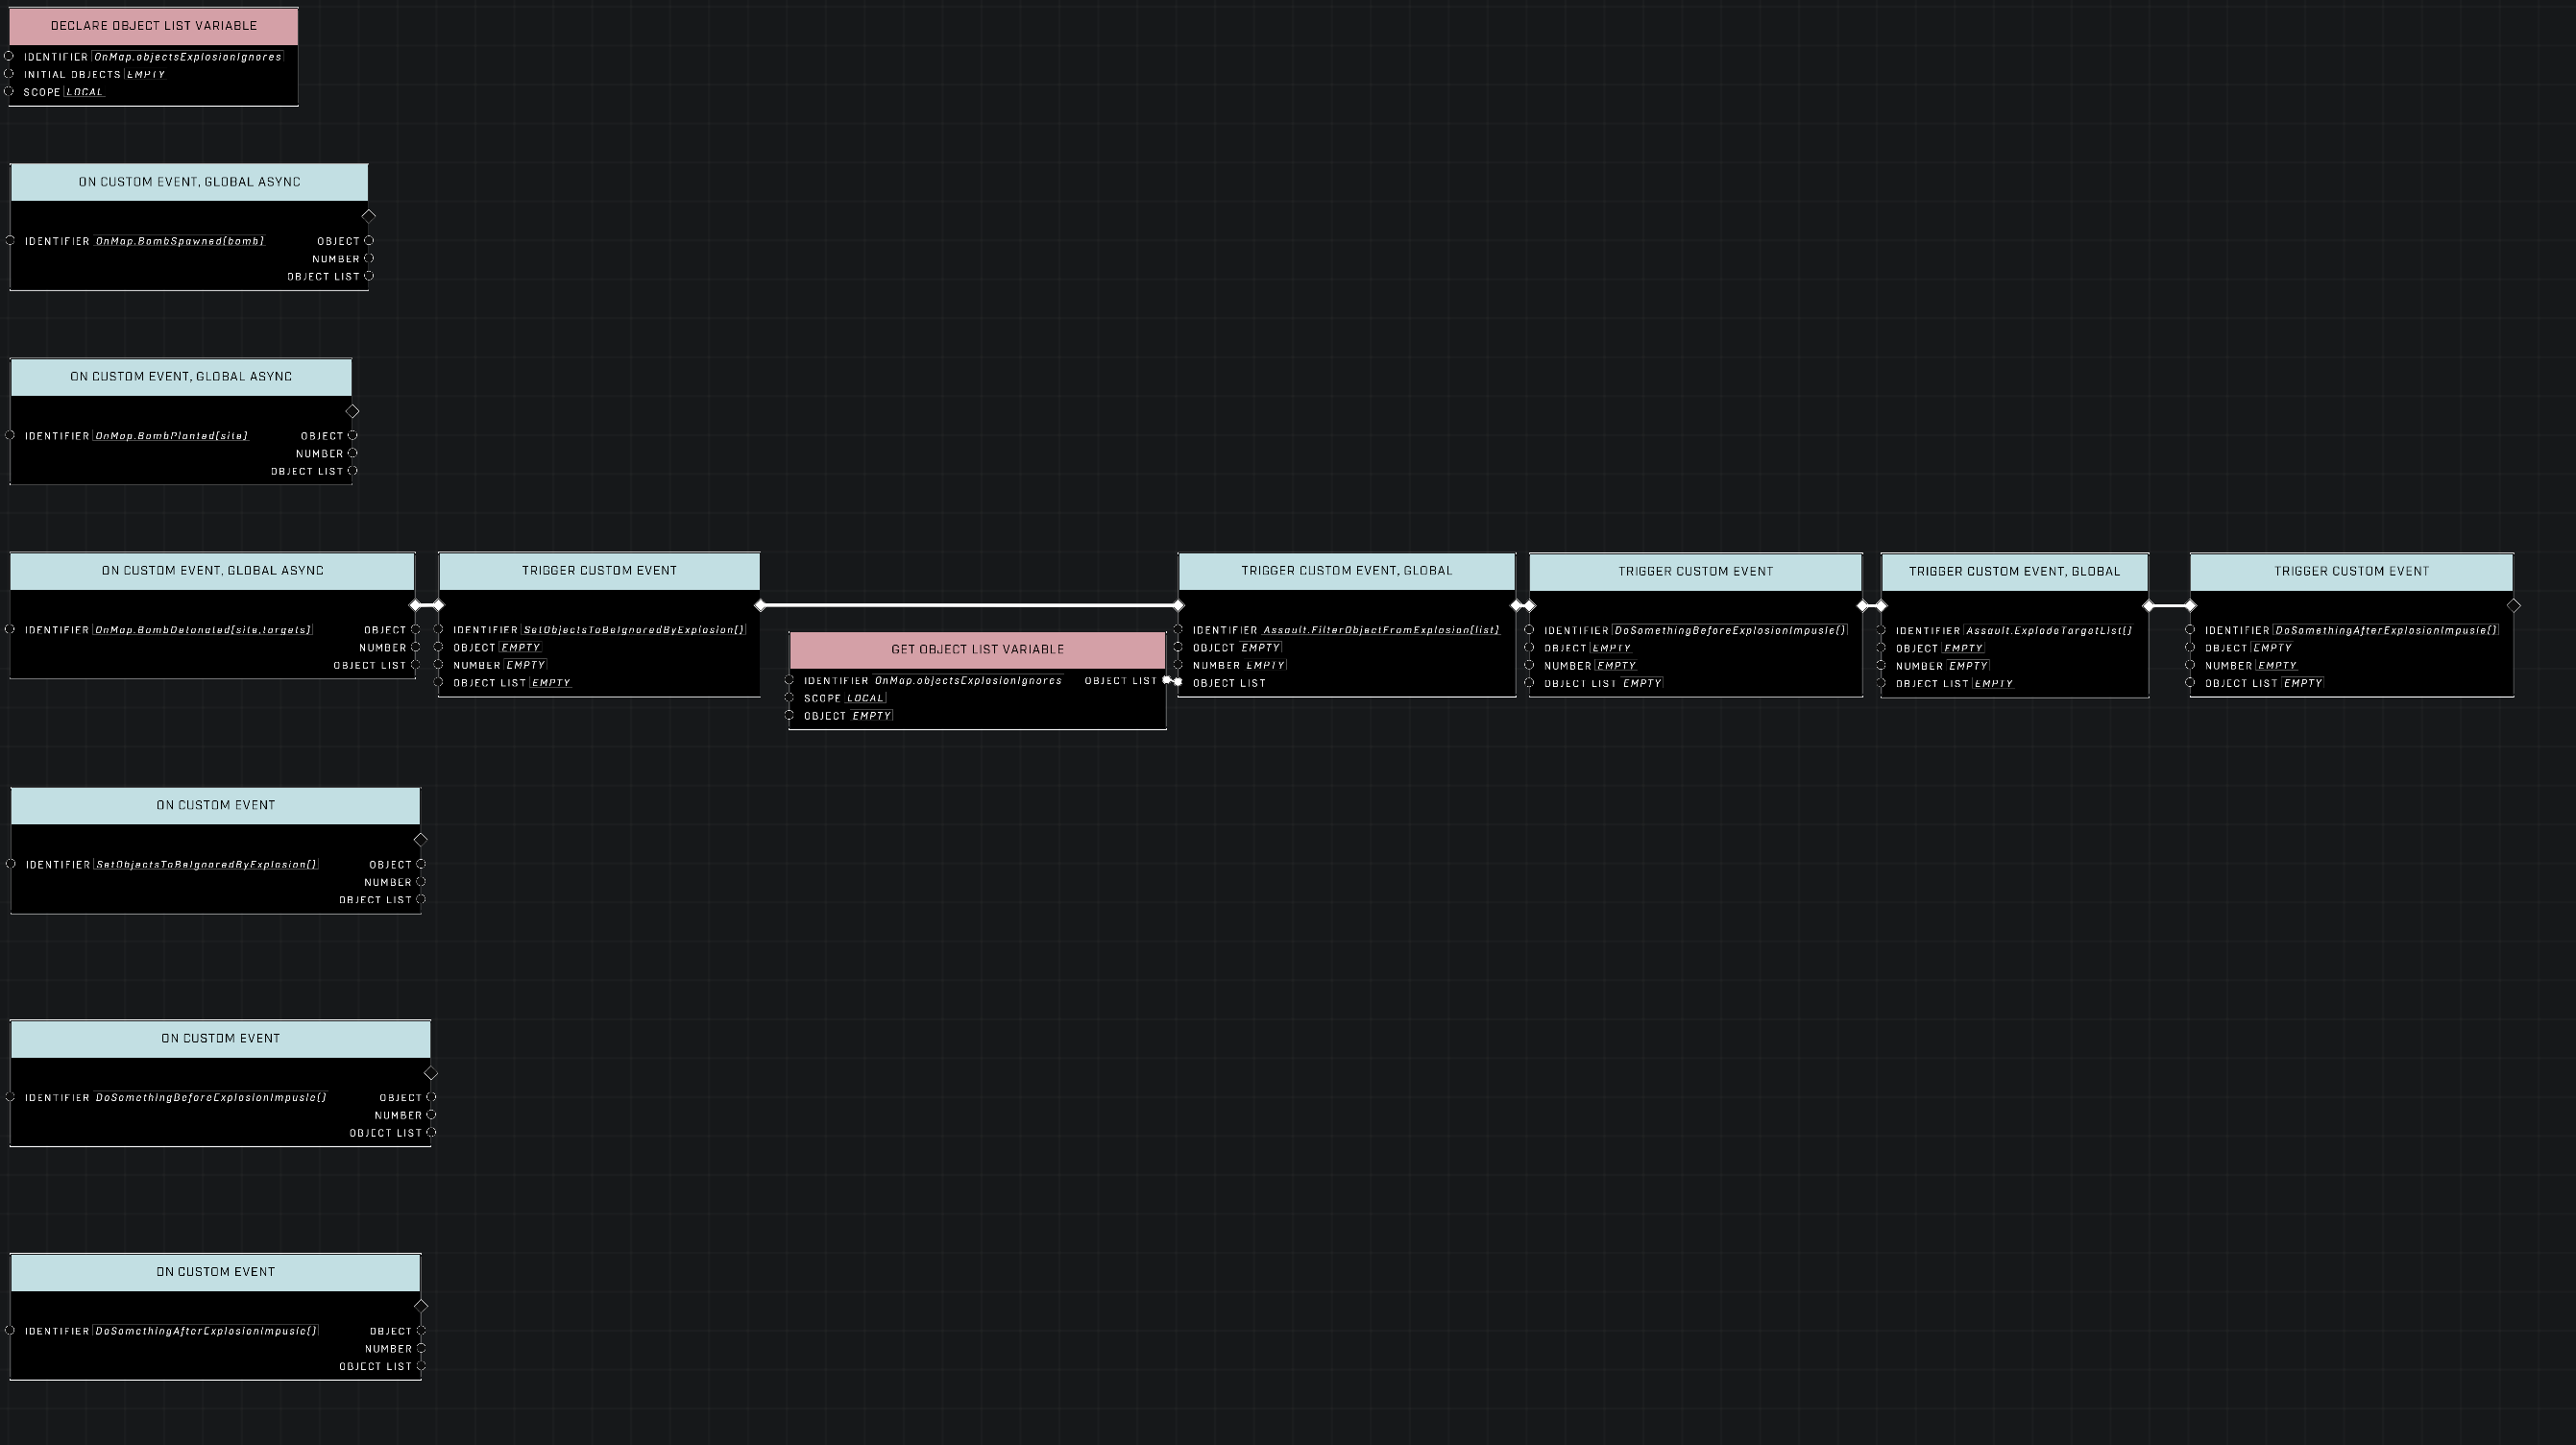
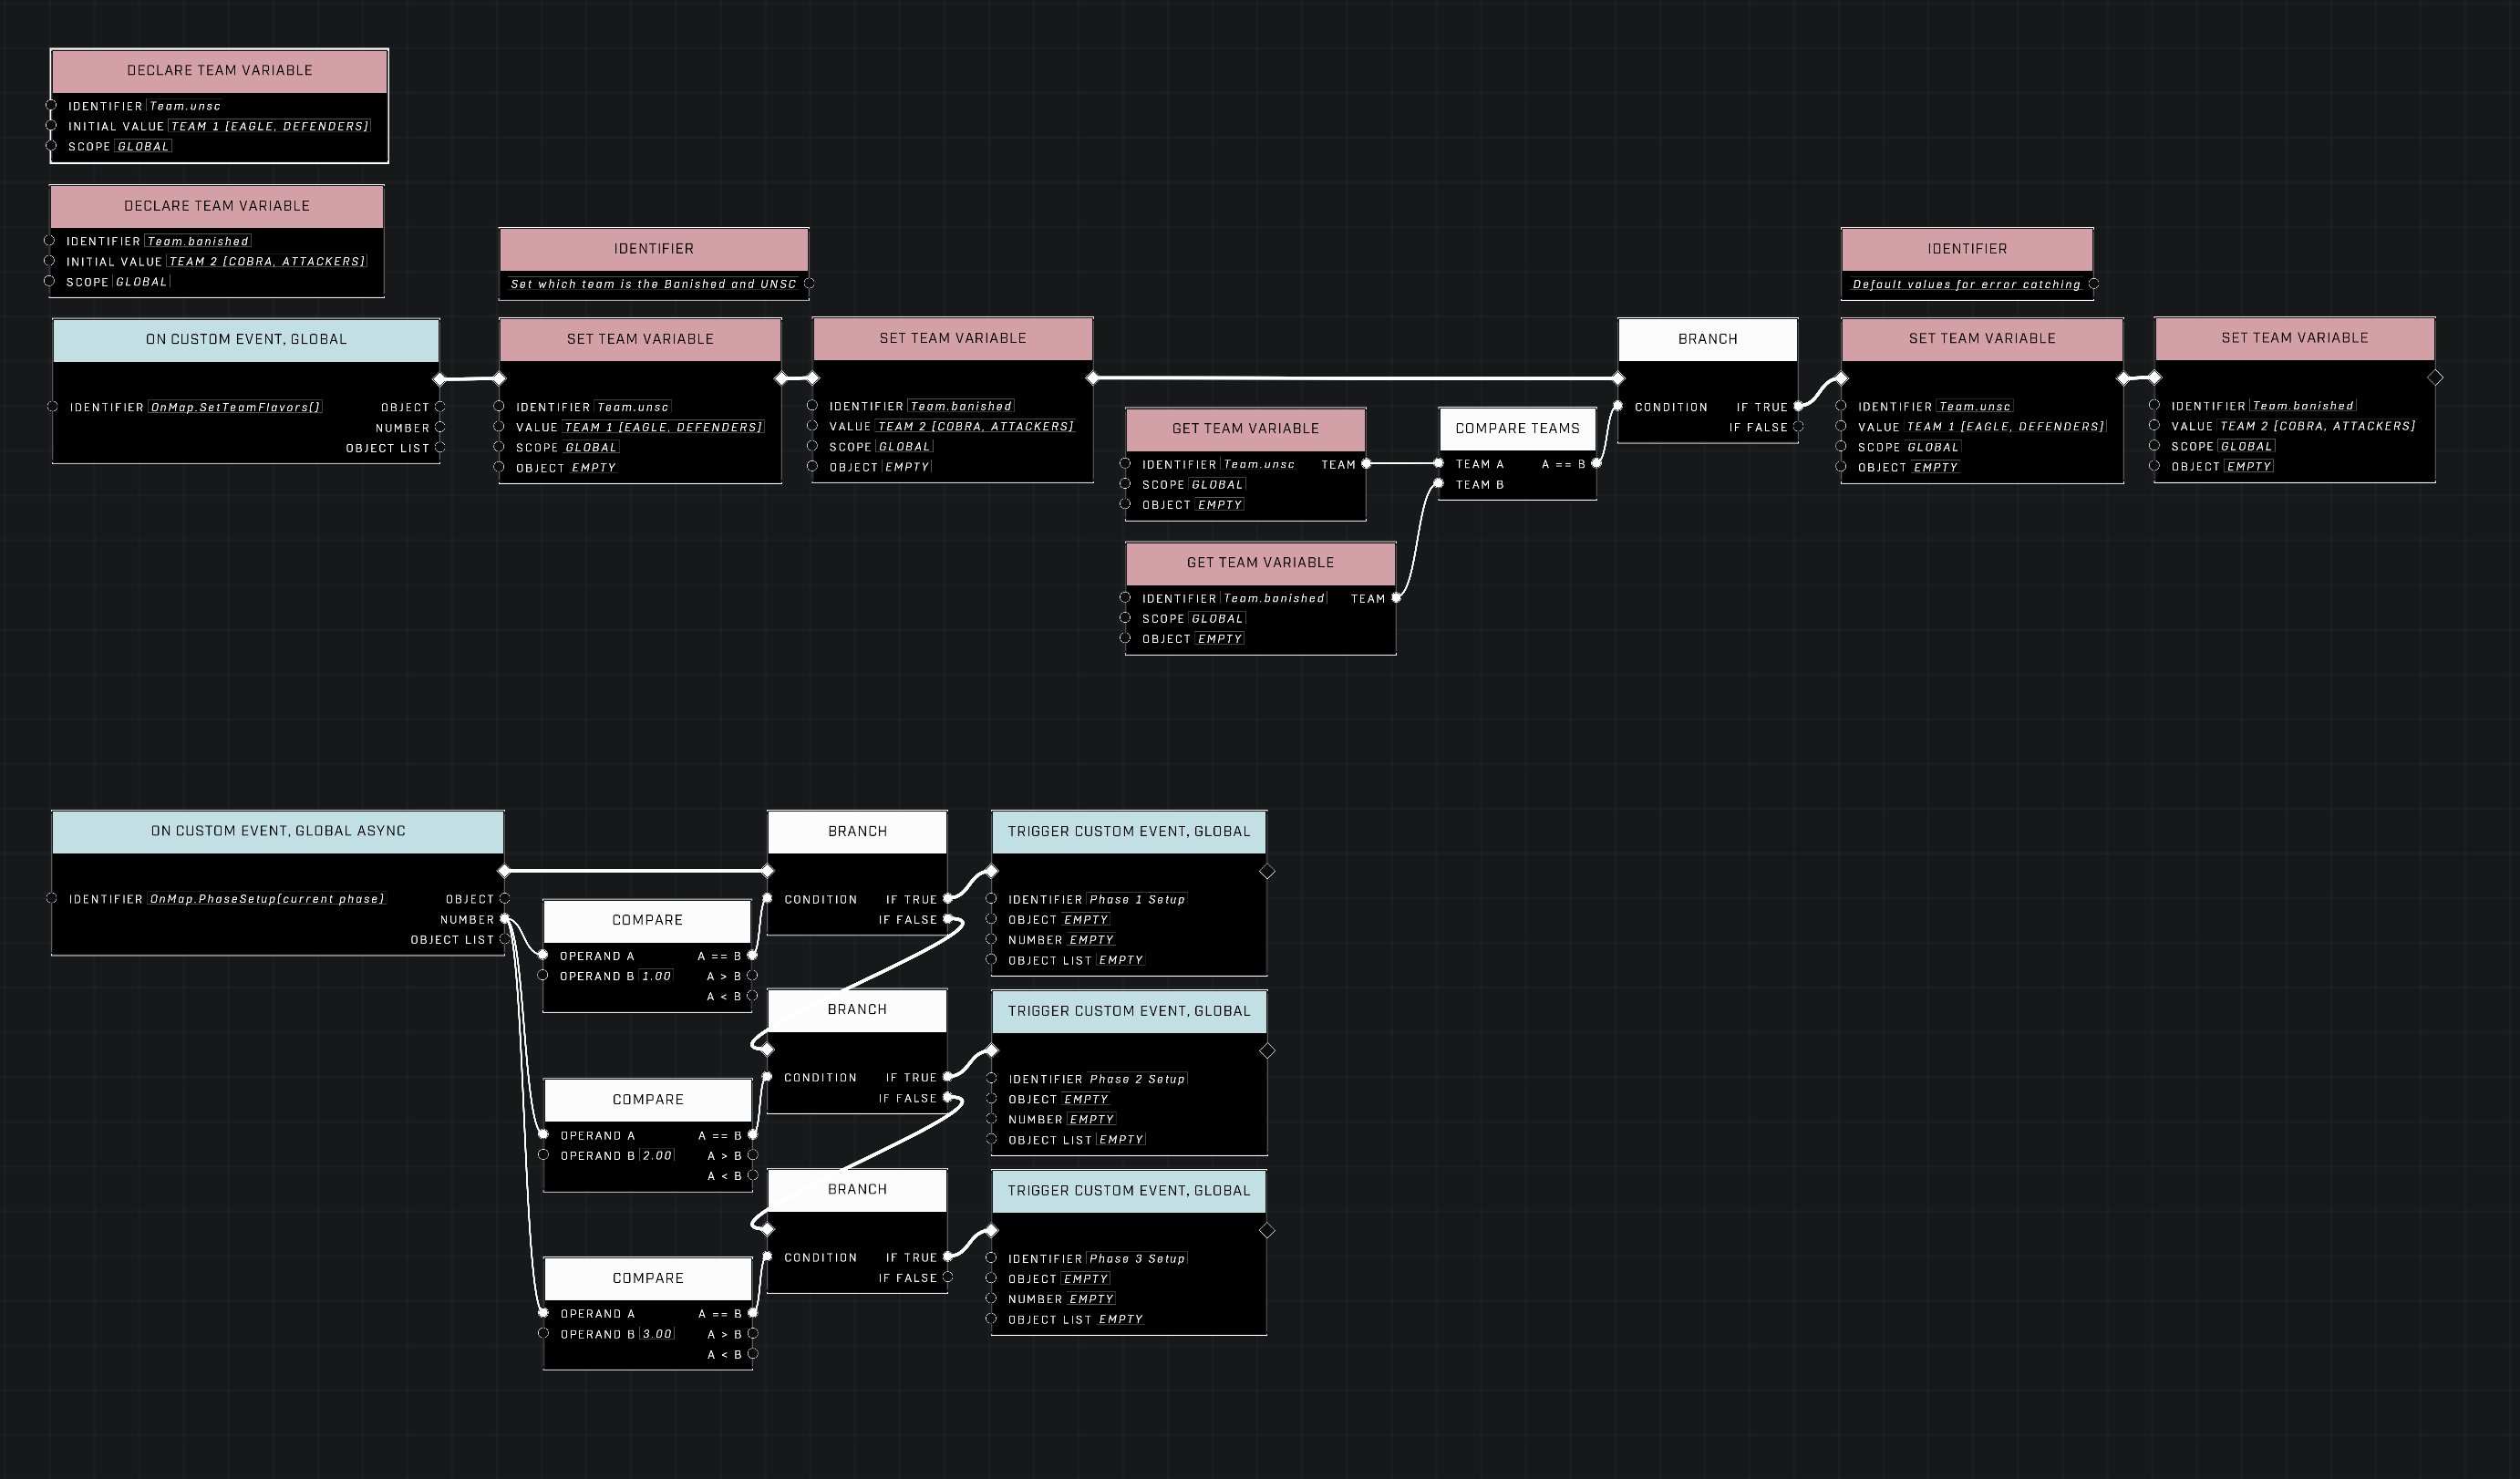
The Invasion mode automatically fires "On Map Events," which map creators can use to trigger custom functions or map-specific logic.

<figure><img src="/files/N7OnwdpXe6J86m1wSZZ4" alt="On Map Events Brain"><figcaption><p>The On Map Events Brain manages the execution of custom events.</p></figcaption></figure>

<figure><img src="/files/dezKK3ec6ppEDXeCN8wy" alt="Brain 1"><figcaption><p>The first brain node setup is used to manage custom map events.</p></figcaption></figure>

<figure><img src="/files/P6PhdVOOeEddZKnmm52z" alt="Brain 2"><figcaption><p>The second brain node setup provides additional event handling.</p></figcaption></figure>

<figure><img src="/files/xgFQ03bvOmCvW8px4cfS" alt="Brain 3"><figcaption><p>The third brain node setup manages map-specific triggers.</p></figcaption></figure>

<figure><img src="/files/tNpN70mA9A8kJCULADNT" alt="Brain 4"><figcaption><p>The fourth brain node setup enables unique map functions.</p></figcaption></figure>

## Custom Player-Defined Phases

Players can create custom phases by using the built-in custom modules. These modules allow for the definition of unique invasion content within a match.

* **Custom Modules:**
  * Echo: Custom Module 1
  * Foxtrot: Custom Module 2
  * Golf: Custom Module 3

<figure><img src="/files/4mgJAeXYDokf7vVogQsU" alt="Custom Modules"><figcaption><p>The Echo, Foxtrot, and Golf labels allow for the definition of custom invasion content.</p></figcaption></figure>

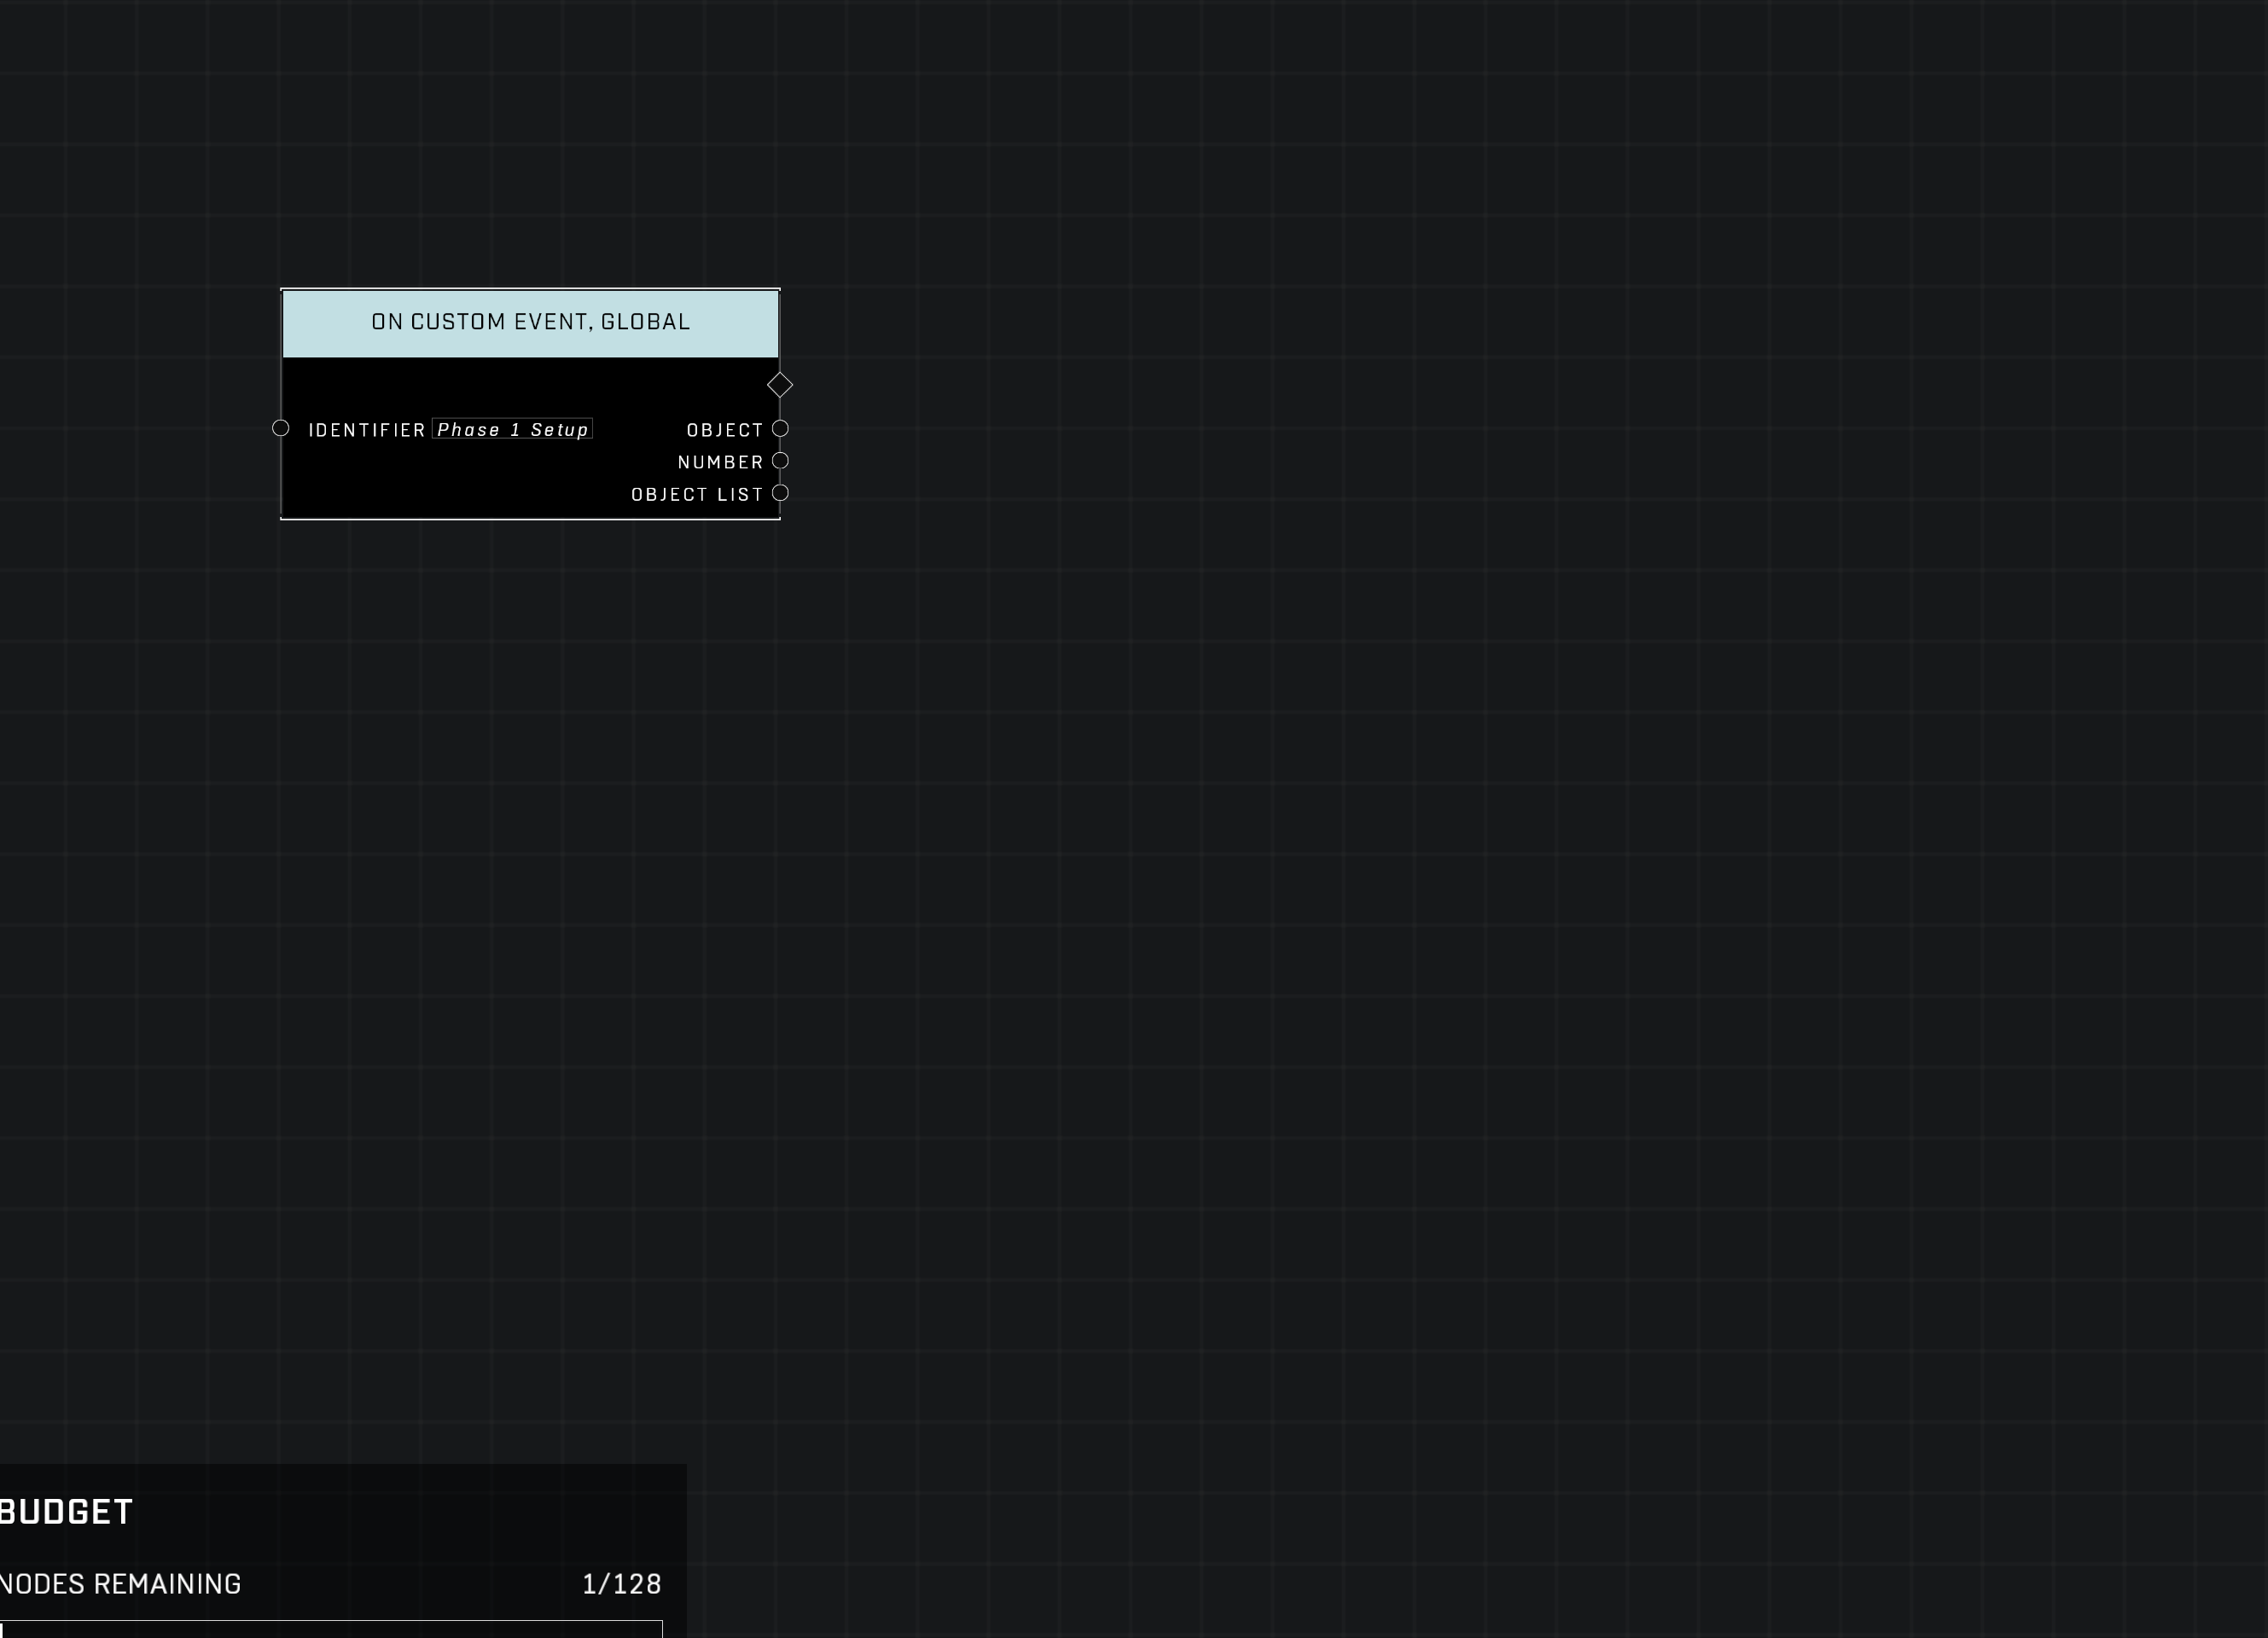
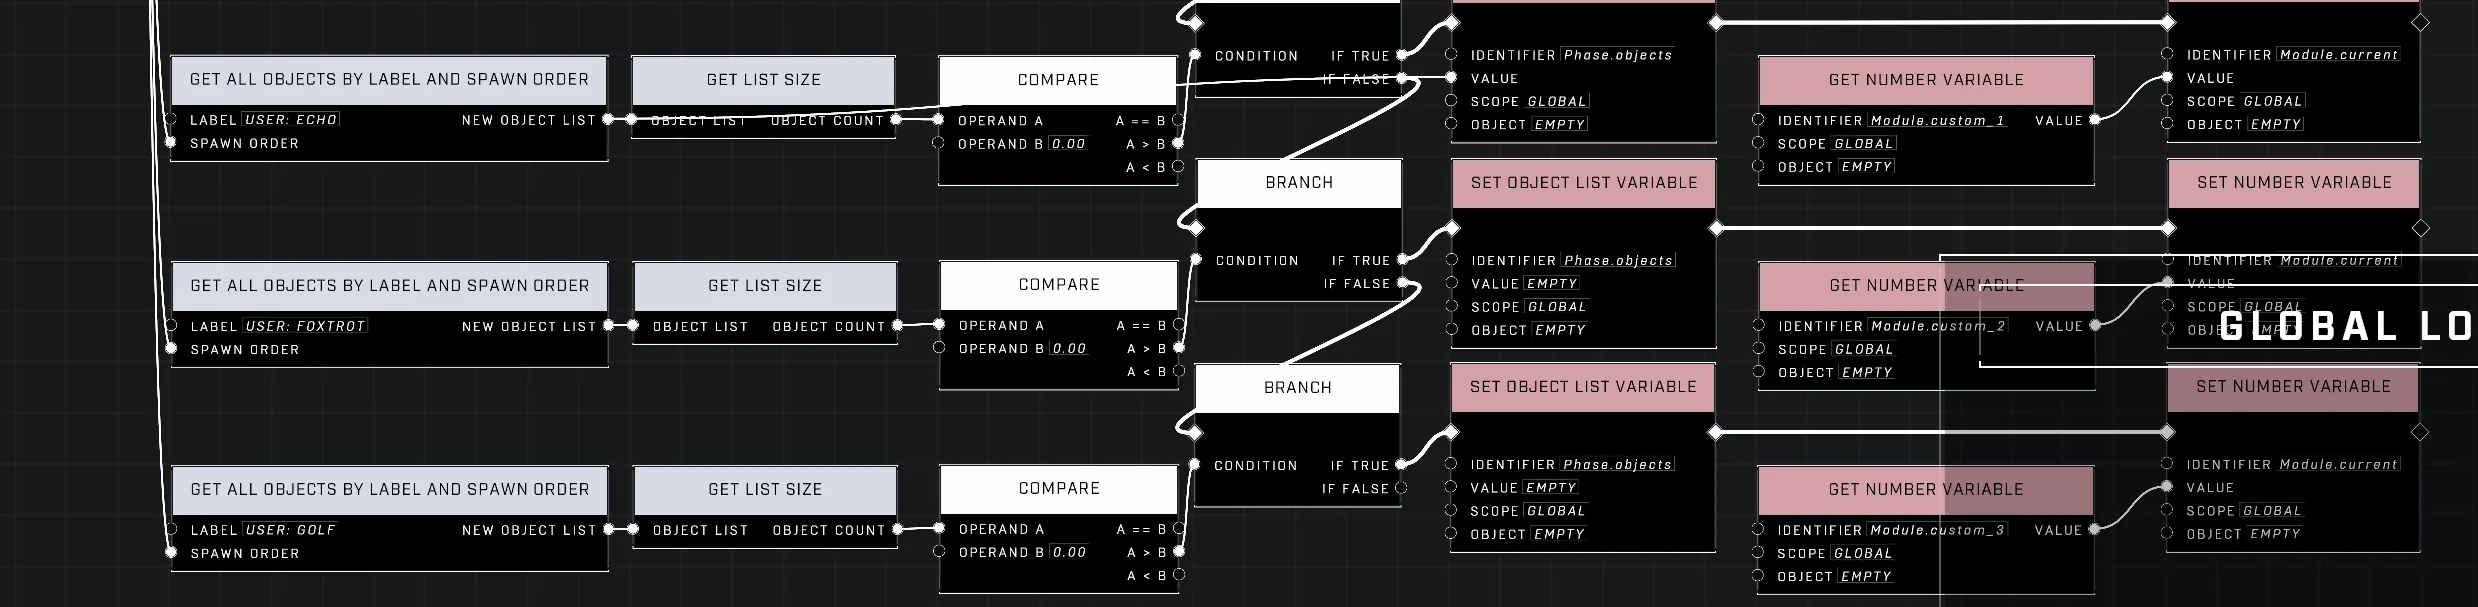
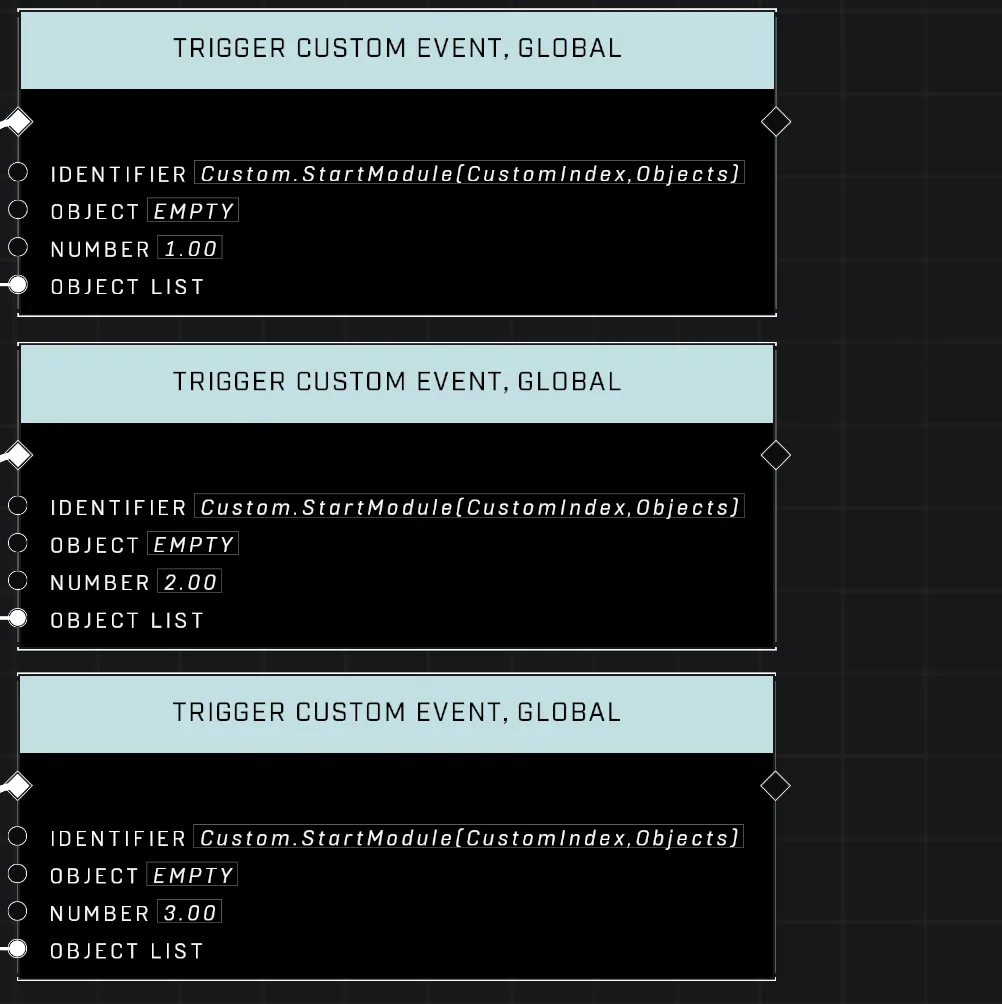
The mode identifies the next phase by searching for all objects with labels at the spawn order of that phase. If any objects are found, the system sets the module ID and calls the start event for that module.

<figure><img src="/files/dYOi6psZHx35c5QZfKn6" alt="Phase Flow Logic"><figcaption><p>The system identifies the next module by searching for objects with specific labels at the current phase's spawn order.</p></figcaption></figure>

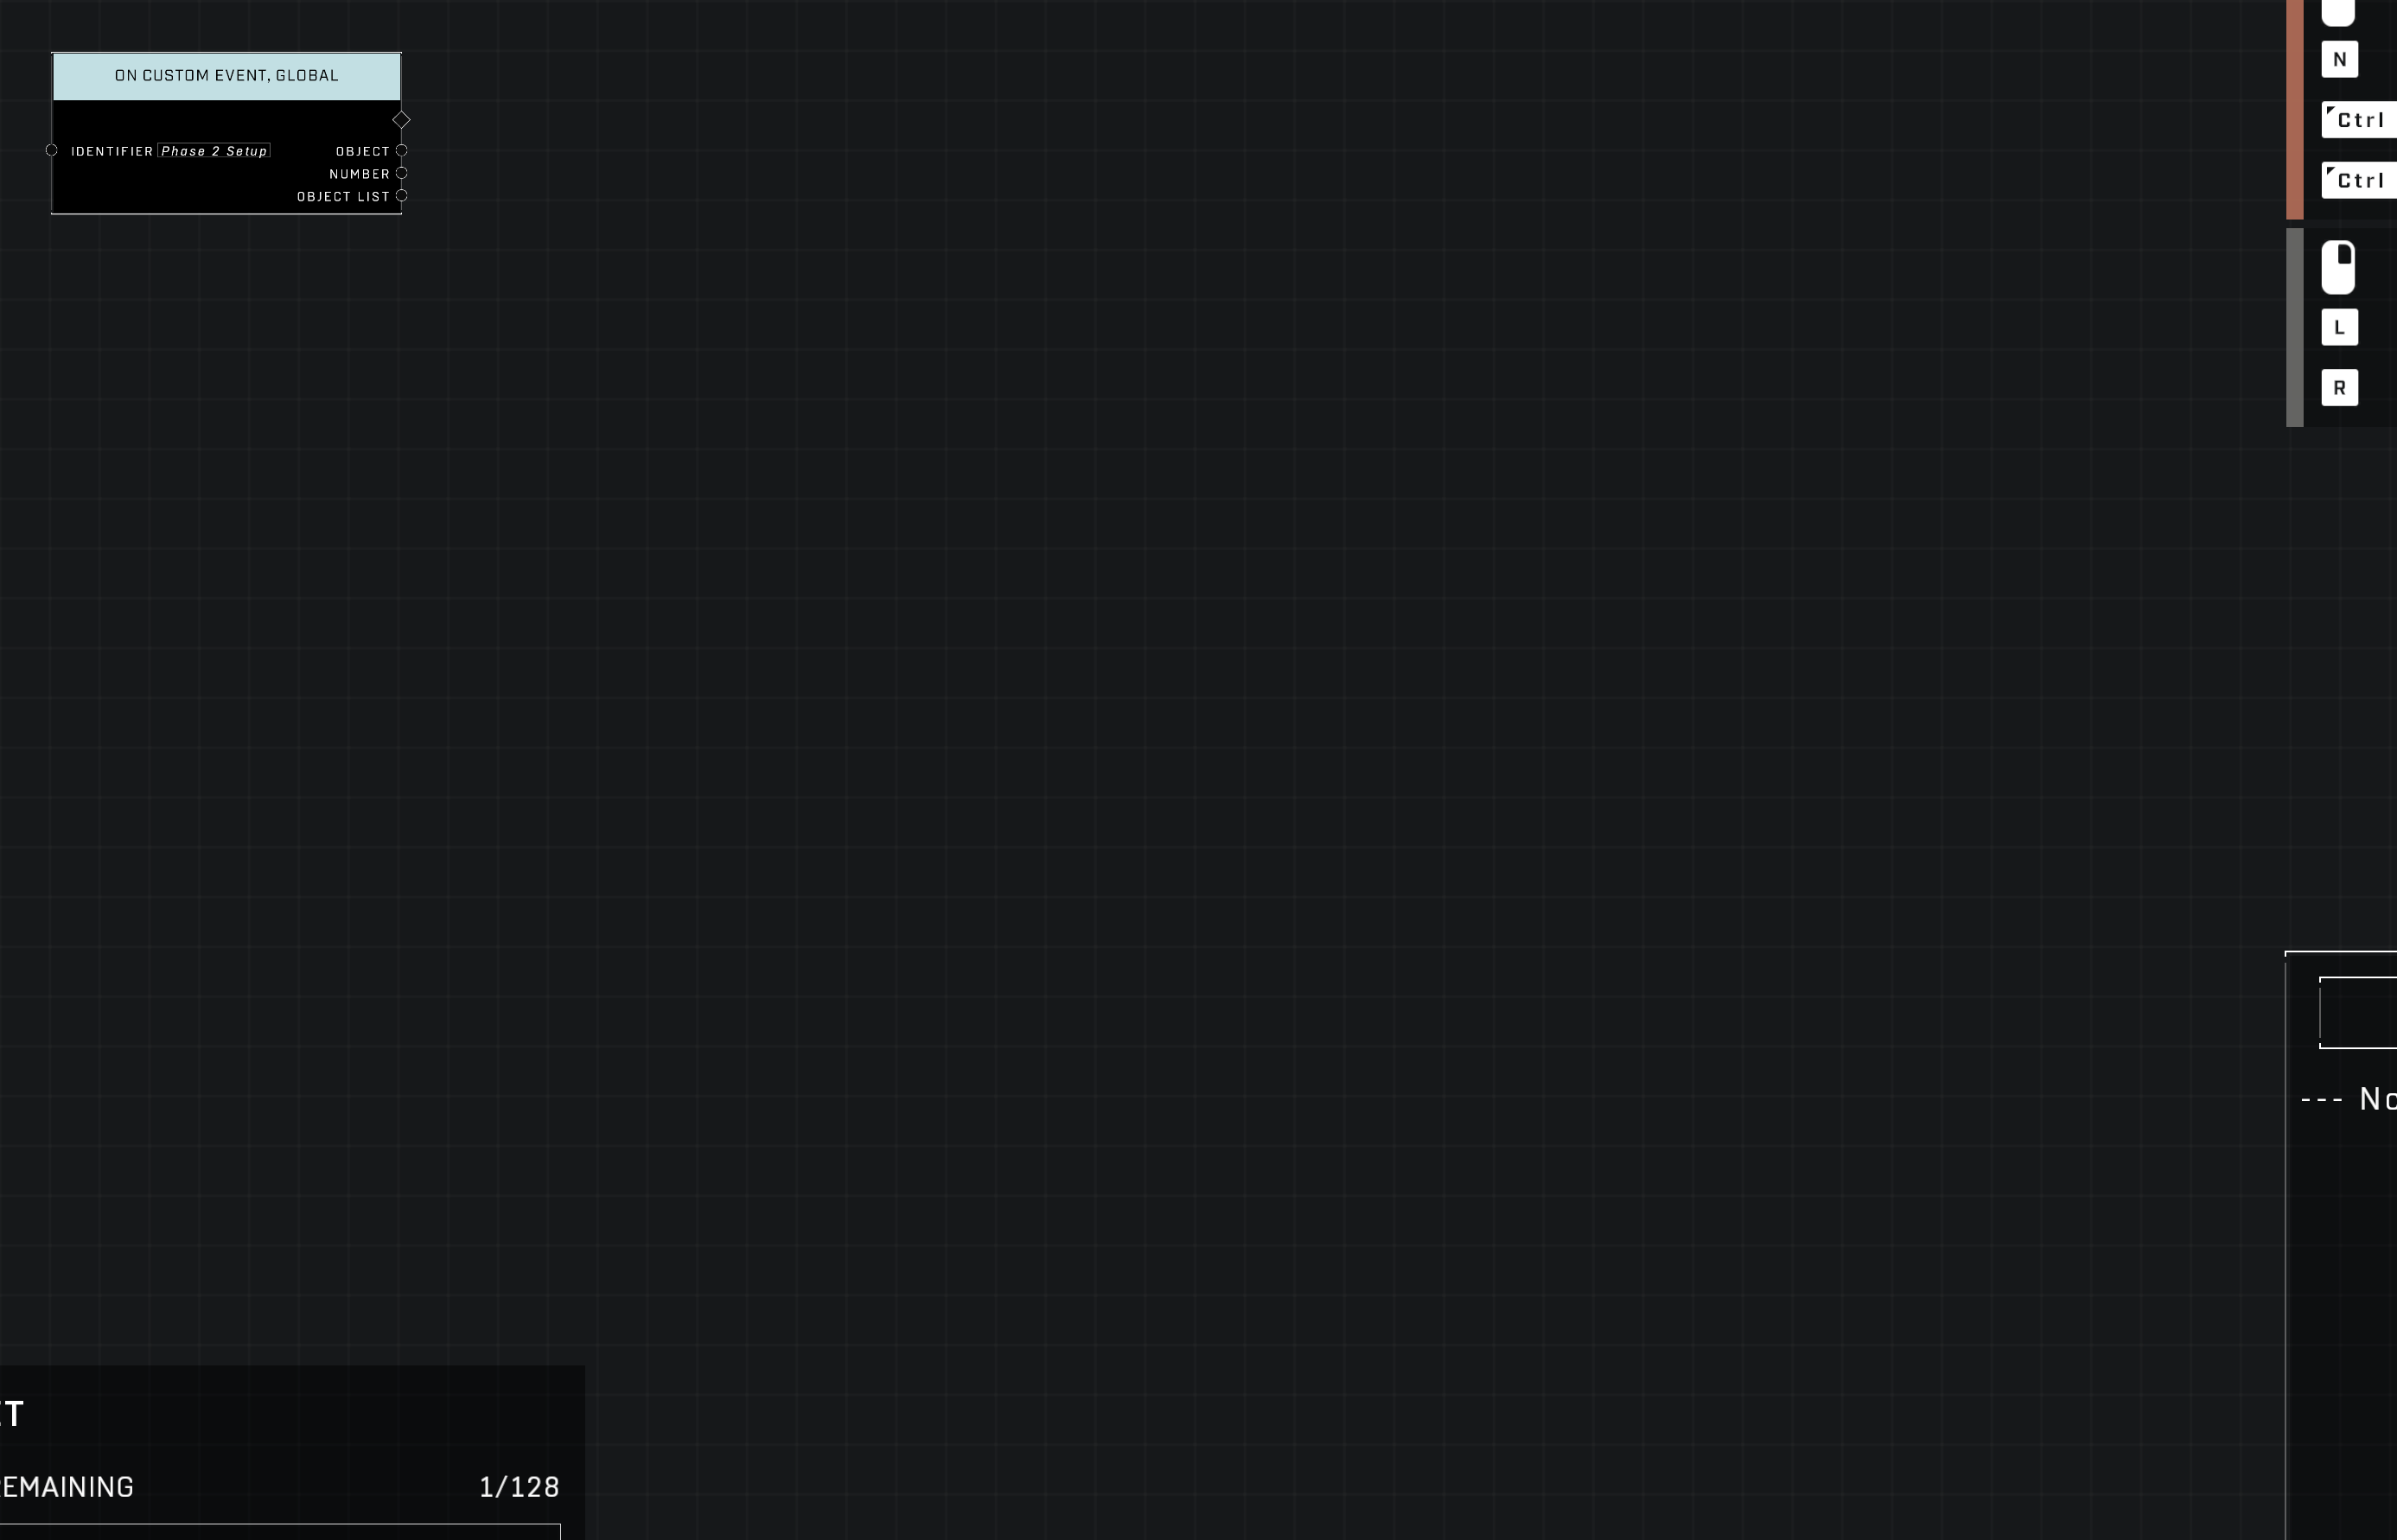
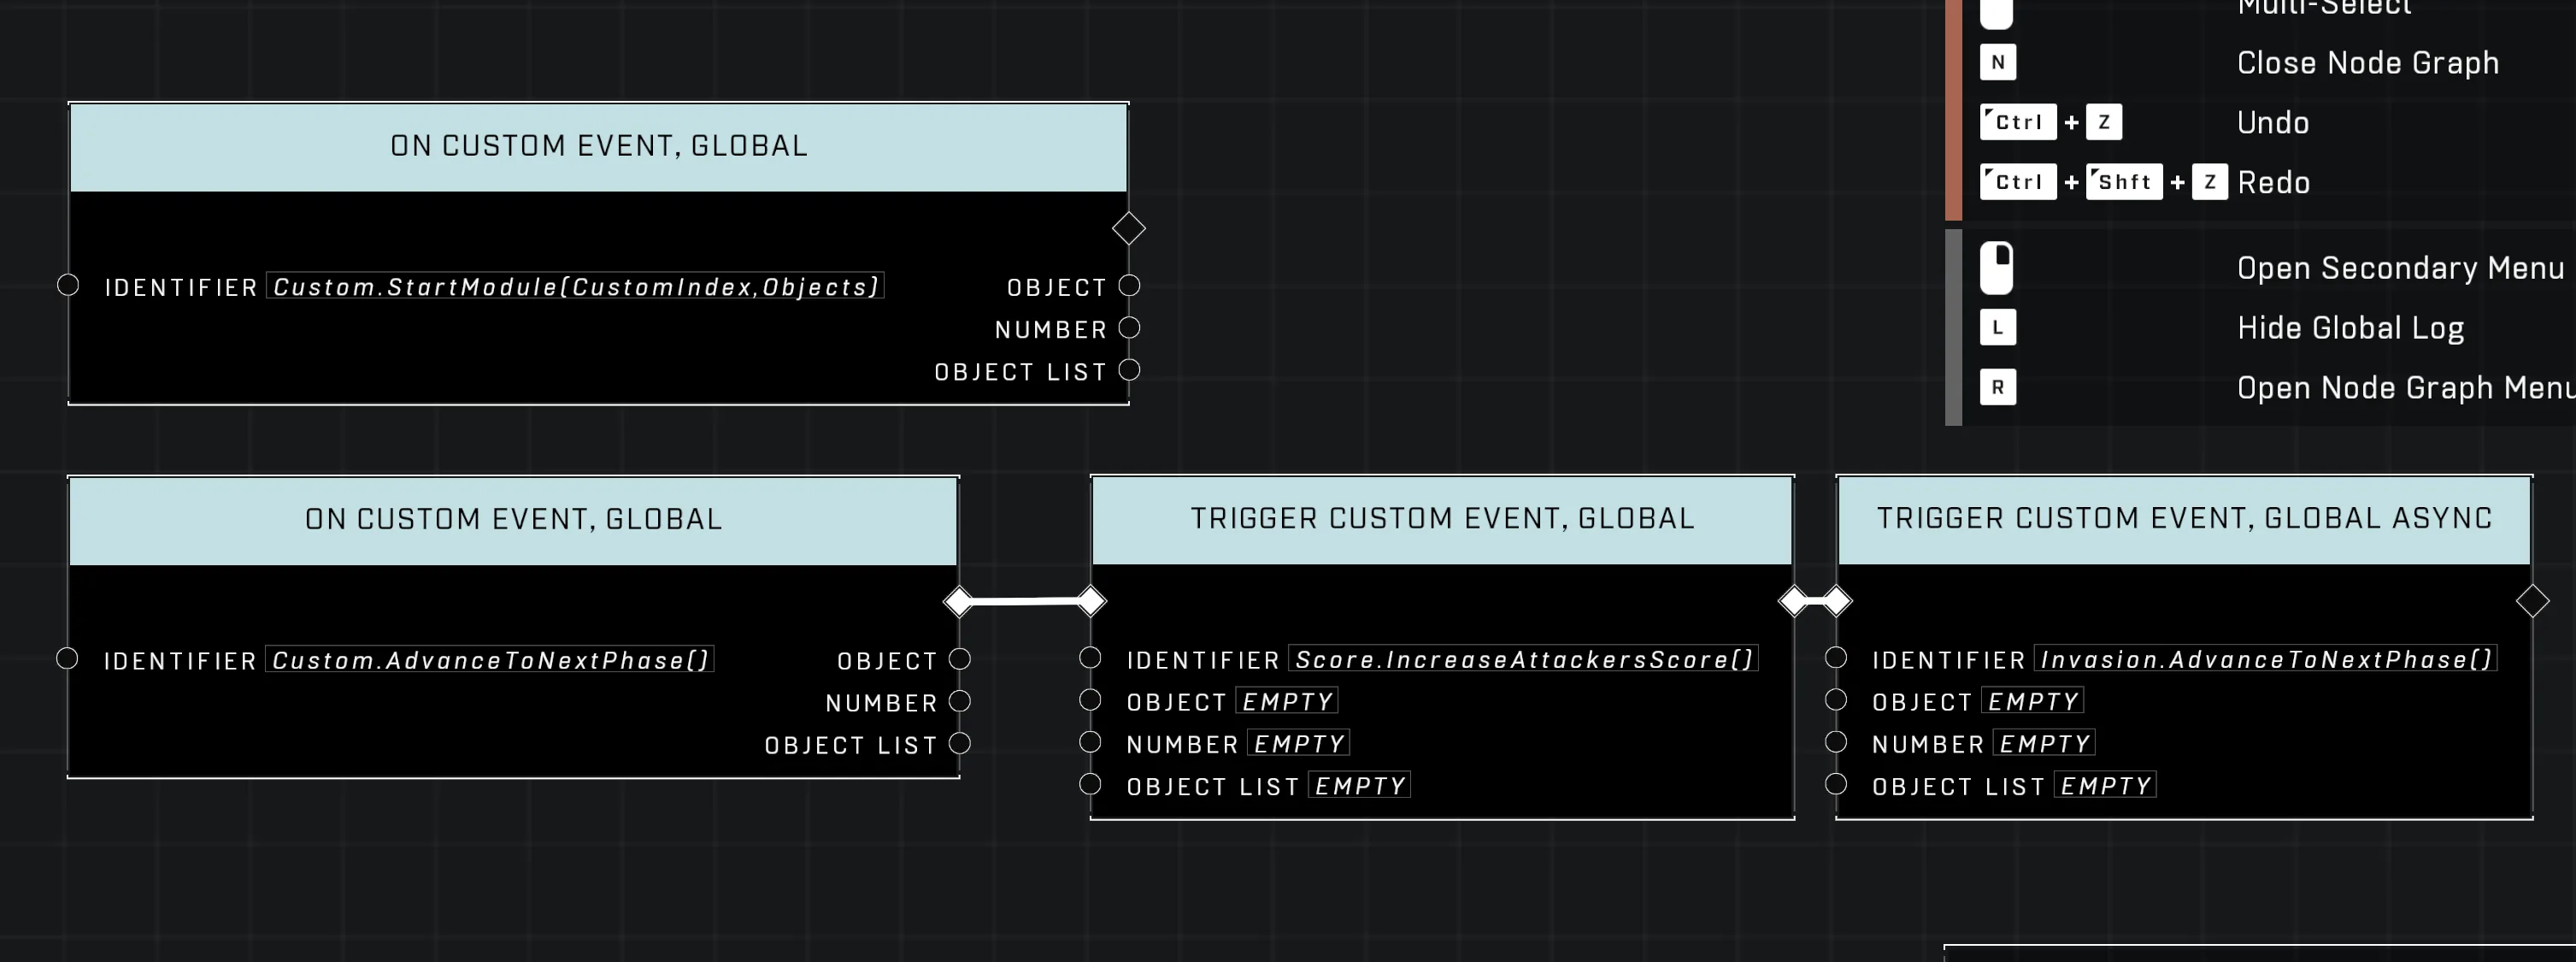
A custom module begins with the top function found in a script brain on the map and ends when the forger calls a lower function through a custom win condition script. To signal that a custom phase is complete, map creators must use an "On Map Event" to call the `Custom.AdvanceToNextPhase()` event.

<figure><img src="/files/sU6Bnyy1UAb7aJhIv78H" alt="Phase Advancement"><figcaption><p>Creators can use an on map event to call the Custom.AdvanceToNextPhase() event to signal phase completion.</p></figcaption></figure>

***

## Source Data

* Discord thread: [Invasion Setup](https://discord.com/channels/220766496635224065/1501455397322756197/1501455397322756197)

#### <mark style="color:green;">Contributors</mark>

Max Extra\
Okom


---

# Agent Instructions: Querying This Documentation

If you need additional information that is not directly available in this page, you can query the documentation dynamically by asking a question.

Perform an HTTP GET request on the current page URL with the `ask` query parameter:

```
GET https://wiki.thescriptersguild.com/forge/modes/invasion.md?ask=<question>
```

The question should be specific, self-contained, and written in natural language.
The response will contain a direct answer to the question and relevant excerpts and sources from the documentation.

Use this mechanism when the answer is not explicitly present in the current page, you need clarification or additional context, or you want to retrieve related documentation sections.